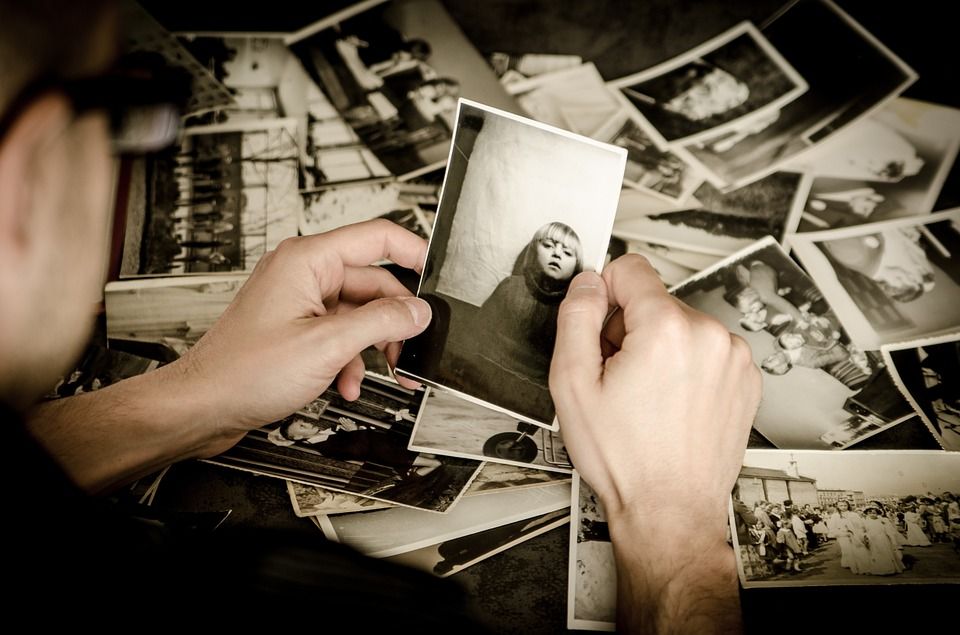
One of the most interesting things that I have noticed during this endeavor is that once in awhile when I am fortunate enough to find a cousin that has and is willing to share photos, there is usually at least one photo that they have that I already have a copy of. Need more proof of relation? Then its a matter of who has the better picture.
Sometimes I get or find photos that are mangled, mildew stained, or fading due to time. What a terrible tragedy that sometimes the only thing we have of a person can be so easily destroyed. I’ve undertaken saving several of these photos that I’ve come across, with many, many more to go. Photo restoration is a major pain, but very rewarding when you are finished. I’ve done several restores and the before and after is amazing. To think, I know “nothing” compared to graphic artists because I never took a class. The real difference is knowing how to manipulate the program you are using to accomplish your goal.
If I didn’t have so many that needed more TLC from me, I would be glad to offer my services to people so that their treasures can be saved.
But ‘repairing’ the picture digitally is only the half of it. Some basic steps for restoring a picture are pretty simple:
- SCAN the picture at the highest possible resolution.It doesn’t matter the size of the picture, just do it. I got an original that is maybe .6in x .9in and after restoring it, I printed it as an 8×10 and it looked flawless. The scan was at 10k dpi.
- TAKE your time restoring the digital picture.Seriously, the more time you take in paying heed to the details the better the outcome will be. You are an artist and the program is your brush. The last picture I did took about 40-45 hours to do (mostly because it was heavily damaged and I had to recreate whole areas of the picture) but the result was amazing.
- SAVE different copies through the process.This is more optional, but definitely something you’ll want to do at least once. I have an animation creator and I’ll save different copies as I’m working on a picture. This is good for two reasons: I can create something with them later and I never lose my most recent work. It takes maybe 5 minutes after I’m done to set up the animation to create, and then let it compile. What I have is a .gif file that shows my progress from start to finish.
- PRINT the restored photograph.This is the last and most important part of the process. After all, having a restored digital copy is nice but don’t you want to display the picture? If you scanned the picture at the highest resolution possible and are careful is some editing techniques, its possible to reprint the picture up to 1,000% if not more. Of course, you are restricted by the quality of the photo itself. If its a large group picture and everyone is slightly fuzzy because of the distance from the camera when the picture was taken, then that is something beyond your control. Print the best looking size.


